How to Build a Raised Planting Bed
One of my favorite accomplishments so far this year has been the construction of a new planting bed for my zinnias.


I lamented about my zinnia bed in 2009 in this post.
I am quite PROUD of this project because my 11-year-old son and I built this, together, by ourselves! (He is now 12, by the way - we built this in early May.)
With NO HELP ! Are you impressed?
You should be thinking.. "If that 42-year-old mom and her 11-year-old son built a raised planting bed, then I can too!"
I watched Pioneer Mom's tutorial, and improvised, a little. As in - I was not as meticulous as she.
Here is the step-by-step, showing how we did it.
Items needed:
lumber
drill with bits and screwdriver
extension cord for the screwdriver
long wood screws (about 2" in length)
t-square and level, if you have them
1" x 12" wooden stakes (approximately $3 for 12 stakes)
hammer
1. I highly recommend watching Pioneer Woman's demonstration here. I did not follow her directions to the "T", but her instructions helped me get the logistics figured out for my bed.
2. Purchase four pieces of pressure treated lumber from the local hardward store. I actually purchased two (2) pices of 2"x 10" x 10' lumber, and one long piece of the same lumber, 12 feet in length (which is a 2"x10"x12'), then kindly asked the Lowes' employee to cut the 12 foot piece into two 6' pieces. As for the "pressure treated" part, my bed is for flowers, not for anything edible. Pressure-treated lumber can withstand the elements better than non-pressure-treated and the bed will hopefully last longer. Since the bed is for flowers, and not for anything edible, I decided pressure treated would be best. I would not recommend pressure-treated lumber for a vegetable garden.
My son and I loaded the wood into the SUV and picked up my teenage daughter from high school. This was the same day that my rear view mirror did this....

Naturally, one of my daughter's friends needed a ride that day and my daughter was completely mortified to have the lumber in the car, along with the dangling rear view mirror. Then I stopped by the vet for medicine that it took them 15 minutes to realize they did not have it. It just was not her best day.

3. We laid out the boards where we wanted them, and then pre-drilled holes into the ends of the board where we wanted to connect one to another like this.....

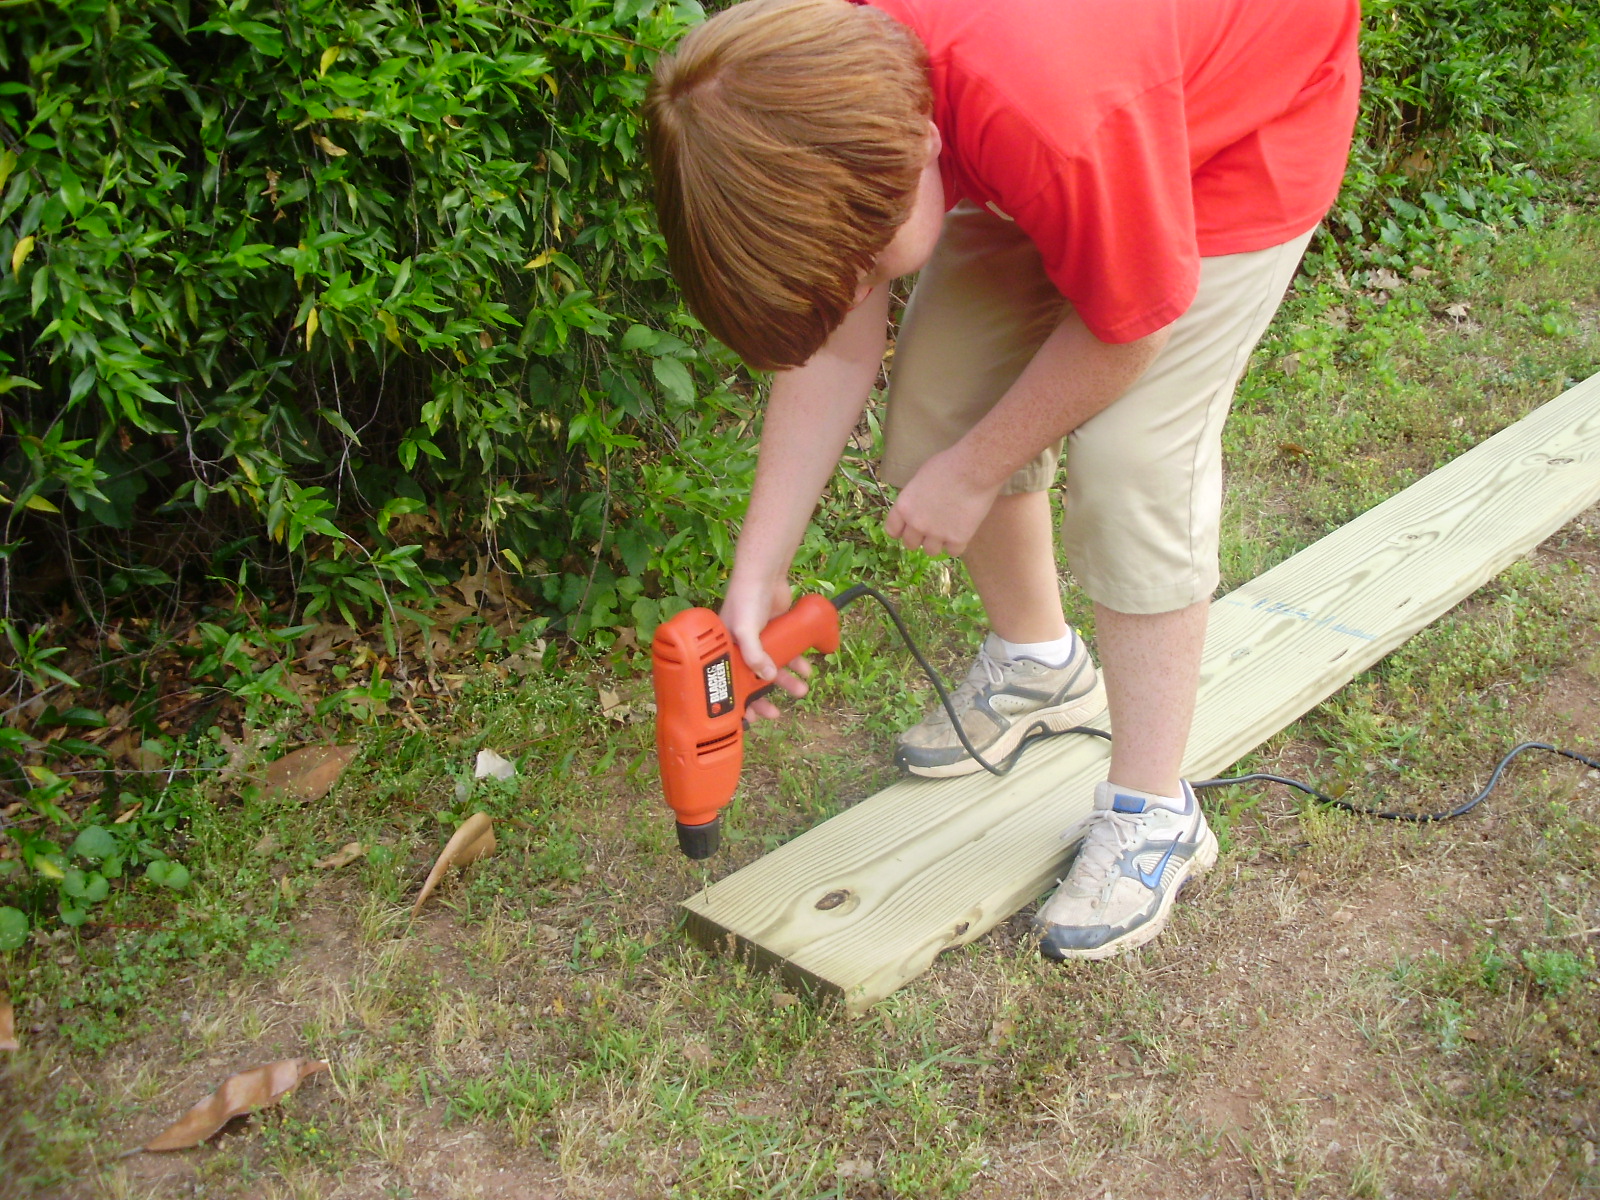
4. We drilled three holes per end, until we made a rectangle out of the four boards.

Like a sand box.
5. Use the t-square to "square up" the corners to 90 degree angles before you secure the rectangle to the stakes. We placed the rectangle where we wanted it and hammered a stake into the ground at the corner. We then screwed two more screws into the rectangle AND the stake to hold the rectangle to the stake. Keep in mind, the stake is already in the ground when you attach it with a screw to the 'sand box.' Hopefully this next lovely sketch will clear things up.....

(Use a level and t-square before hammering in each stake to verify that the planting bed will be somewhat level and at 90 degree angles. This is so that you have a rectangular planting bed and not a trapezoidal/rhombus/slanted parallelogram planting bed.)

The stakes were hammered pretty far into the ground, beneath the level of the 10" high planter and are not visible from the exterior of the bed.
8. Call your local dirt guy. Tell him you want dirt that is good for growing flowers. He will ask you how much dirt you need. To determine how many cubic yards you will need, multiply the length of the box, by the width, by the height, and maybe subtract an inch or two of the height so that your dirt does not flow over the top edge of the planter when you water. Flash back to algebra and chemistry and make sure all of your units are the same (use inches for all three, or feet, or yards for all three dimensions).
I wanted 8 inches of dirt in my 10-inch tall box. 8 inches is equal to 0.67 feet.
Therefore, 0.67 ft x 10 ft x 6 ft = 40 cubic feet of dirt, or 1.49 cubic yards. (1 cubic yard equals 27 cubic feet, so divide your cubic feet by 27 to get cubic yards).
I paid around $75 for the 1.49 cubic yards of dirt and he delivered it to me and dumped it directly into my box.
The lumber was around $30, if I remember correctly.
Just over $100 for this project.
Well worth every dime, in my book.
9. Once you have hammered, and drilled, and leveled, and screwed, and planted, and watered, you will have this....


if you also planted zinnia seeds.
Comments
Hugs,
Mandy
I know this was not an easy task, but your tutorial makes it look easy. I'm impressed.
flowers look beautiful.
d from homehaven nestled in the kansas flinthills
Thanks for sharing.Ginger